-
Description
The High Output Single Room Overlay Underfloor Heating Kit using XPS400 foil-faced overlay boards is designed for installing water underfloor heating over existing solid or timber subfloors in a single room. It is suited to projects where a minimal increase in floor height is required and disruption to the existing structure is to be avoided.
The system is laid out using 150mm pipe centres, providing increased heat output while operating efficiently at lower water temperatures. This makes it compatible with both air source heat pumps (ASHP) and conventional boiler systems.
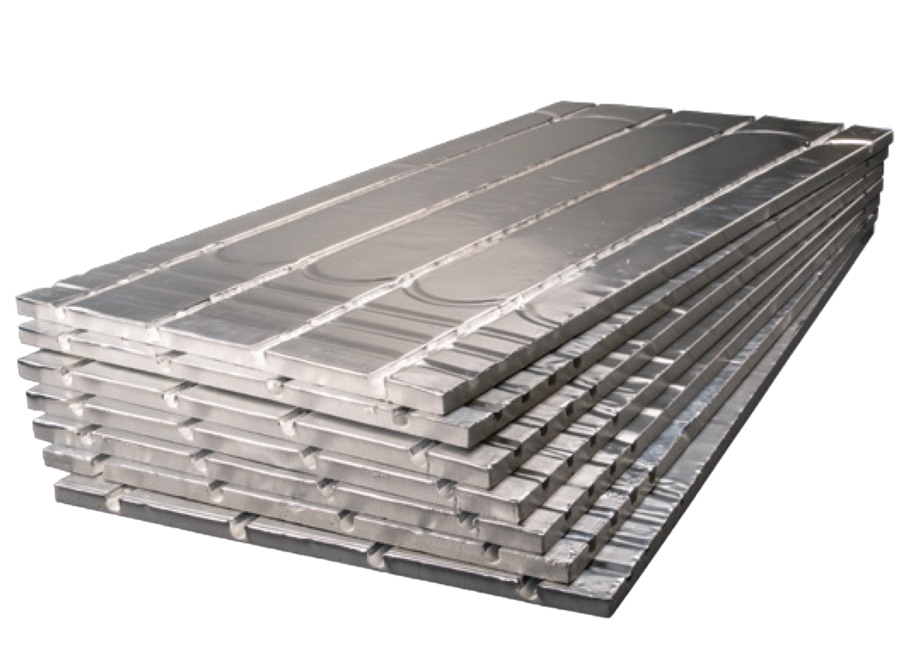
The XPS400 insulation boards are pre-routed to accept 16mm pipe and feature a foil surface layer to assist with even heat spread across the floor. The fixed pipe spacing removes the need for guesswork during installation and helps deliver consistent performance across the heated area.
This kit is intended for single zone applications, making it suitable for individual rooms such as kitchens, extensions, bathrooms, or open-plan living spaces. It can operate independently or be integrated into a wider underfloor heating system.
The insulation within the overlay boards helps reduce heat loss into the subfloor, ensuring more of the generated heat is directed upwards into the room. This improves overall efficiency and system response.
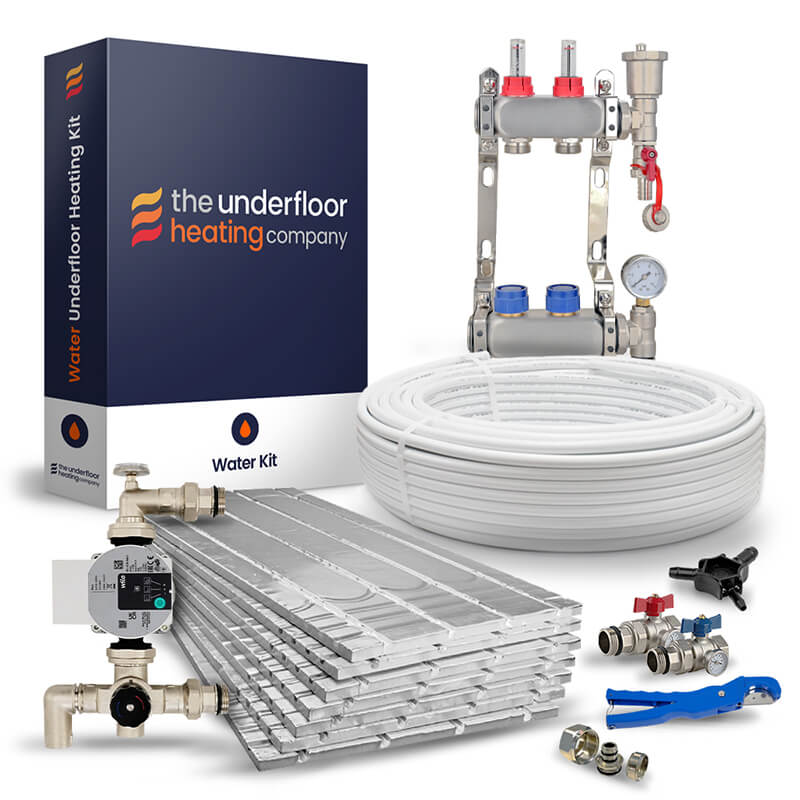
Each kit includes all required components for installation, including 20mm XPS400 foil-faced overlay boards, 16mm barrier pipe, stainless steel manifold, pump and mixing valve assembly and connection fittings. All components are sized to match the selected floor area.
Key Features- Overlay system for installation directly onto existing subfloors
- 150mm pipe spacing for improved output at lower temperatures
- Compatible with air source heat pumps (ASHP) and standard heating systems
- XPS400 routed insulation boards for consistent pipe layout
- Foil surface layer to aid even heat distribution
- Single zone setup for individual room control
- 16mm oxygen barrier pipe for long-term reliability
- System components matched to coverage area
- Compatible with a range of floor finishes with correct build-up
How It WorksThe pipe is installed into the routed channels within the boards at 150mm centres, allowing warm water to circulate evenly across the floor area. The foil layer assists in spreading heat laterally, while the insulation core limits downward heat loss, helping the system reach operating temperature efficiently.
Typical Applications- Single room upgrades over existing concrete or timber floors
- Kitchen and extension projects
- Bathrooms and smaller heating zones
- Retrofit situations where floor removal is not practical
This kit is intended for installations where a low-profile heating system is required without altering the existing floor structure.
- Manuals
Single Room XPS Overlay Kit – High Output System
Price range: £828.00 through £3,095.00 inc.VAT
 Next Day Delivery
 100% Secure Shopping
 Price Match
 Lifetime Warranty
 30 Day Returns

-
Description
The High Output Single Room Overlay Underfloor Heating Kit using XPS400 foil-faced overlay boards is designed for installing water underfloor heating over existing solid or timber subfloors in a single room. It is suited to projects where a minimal increase in floor height is required and disruption to the existing structure is to be avoided.
The system is laid out using 150mm pipe centres, providing increased heat output while operating efficiently at lower water temperatures. This makes it compatible with both air source heat pumps (ASHP) and conventional boiler systems.
The XPS400 insulation boards are pre-routed to accept 16mm pipe and feature a foil surface layer to assist with even heat spread across the floor. The fixed pipe spacing removes the need for guesswork during installation and helps deliver consistent performance across the heated area.
This kit is intended for single zone applications, making it suitable for individual rooms such as kitchens, extensions, bathrooms, or open-plan living spaces. It can operate independently or be integrated into a wider underfloor heating system.
The insulation within the overlay boards helps reduce heat loss into the subfloor, ensuring more of the generated heat is directed upwards into the room. This improves overall efficiency and system response.
Each kit includes all required components for installation, including 20mm XPS400 foil-faced overlay boards, 16mm barrier pipe, stainless steel manifold, pump and mixing valve assembly and connection fittings. All components are sized to match the selected floor area.
Key Features- Overlay system for installation directly onto existing subfloors
- 150mm pipe spacing for improved output at lower temperatures
- Compatible with air source heat pumps (ASHP) and standard heating systems
- XPS400 routed insulation boards for consistent pipe layout
- Foil surface layer to aid even heat distribution
- Single zone setup for individual room control
- 16mm oxygen barrier pipe for long-term reliability
- System components matched to coverage area
- Compatible with a range of floor finishes with correct build-up
How It WorksThe pipe is installed into the routed channels within the boards at 150mm centres, allowing warm water to circulate evenly across the floor area. The foil layer assists in spreading heat laterally, while the insulation core limits downward heat loss, helping the system reach operating temperature efficiently.
Typical Applications- Single room upgrades over existing concrete or timber floors
- Kitchen and extension projects
- Bathrooms and smaller heating zones
- Retrofit situations where floor removal is not practical
This kit is intended for installations where a low-profile heating system is required without altering the existing floor structure.
- Manuals
Related products
-
20mm Foil Coated XPS400 Insulated Overlay Board
£11.89inc.VAT -
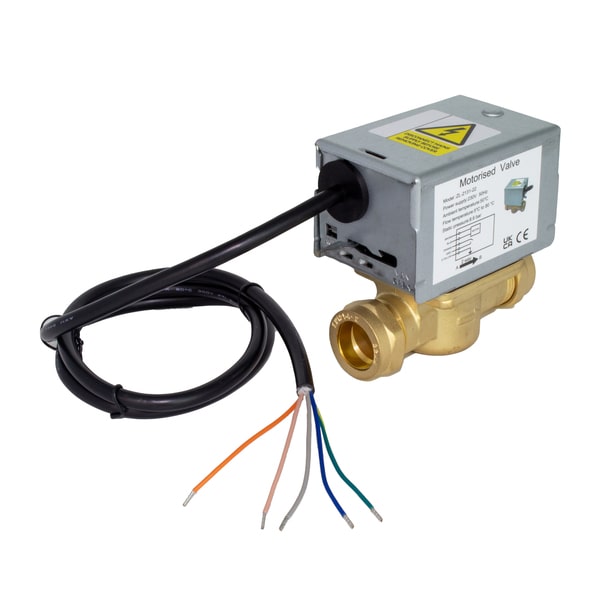
22mm 2 Port Motorised Zone Valve
£39.99inc.VAT -
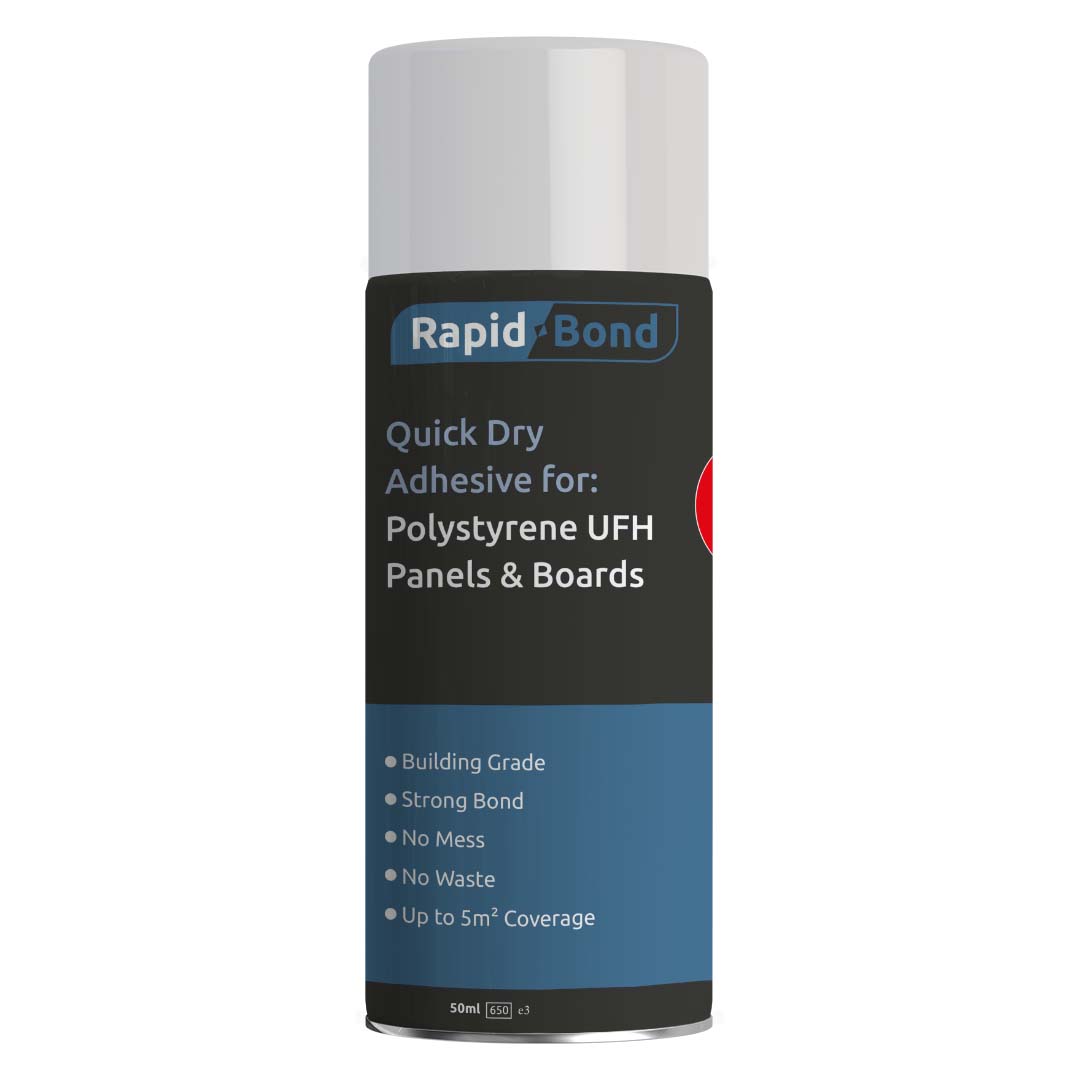
Rapid Bond Spray Adhesive for UFH Overlay Boards
£11.49inc.VAT -
Single Port Underfloor Heating Manifold Extension Kit
£34.99inc.VAT
| Kit Contents: Single Room Overlay Kit – High Output at 150mm Pipe Centres | |||||||||||||
|---|---|---|---|---|---|---|---|---|---|---|---|---|---|
| Kit Coverage | 16mm Pert-Al-Pert Pipe | Stainless Steel Manifold | Isolation Valves | 16mm Pipe Connectors | A-Rated Pump | Thermostatic Mixing Valve | 2-Wire 230v Actuators | Multilayer Pipe Cutter | Pipe Reamer | Heatmiser Wiring Centre | XPS400 Foil Boards | 50m Perimeter Strip | Floor Sensor |
| 20m² | 134m | 2 Ports | Yes | 4 | Wilo | Yes | n/a | Yes | Yes | n/a | 28 | no | optional |
| 30m² | 200m | 2 Ports | Yes | 4 | Wilo | Yes | n/a | Yes | Yes | n/a | 42 | no | optional |
| 40m² | 268m | 3 Ports | Yes | 6 | Wilo | Yes | n/a | Yes | Yes | n/a | 56 | no | optional |
| 50m² | 335m | 4 Ports | Yes | 8 | Wilo | Yes | n/a | Yes | Yes | n/a | 69 | no | optional |
| 60m² | 400m | 4 Ports | Yes | 8 | Wilo | Yes | n/a | Yes | Yes | n/a | 84 | no | optional |
| 70m² | 469m | 5 Ports | Yes | 10 | Wilo | Yes | n/a | Yes | Yes | n/a | 97 | no | optional |
| 80m² | 536m | 6 Ports | Yes | 12 | Wilo | Yes | n/a | Yes | Yes | n/a | 111 | no | optional |
| 90m² | 600m | 6 Ports | Yes | 12 | Wilo | Yes | n/a | Yes | Yes | n/a | 125 | no | optional |
| 100m² | 670m | 7 Ports | Yes | 14 | Wilo | Yes | n/a | Yes | Yes | n/a | 139 | no | optional |